Layout and navigation
The app uses a three-column layout wrapped in a vertical flex container. From top to bottom: the main content area (sidebar + terminal + context panel), then the status bar pinned at the bottom. A command palette overlay floats above everything when activated.
AppShell structure
Section titled “AppShell structure”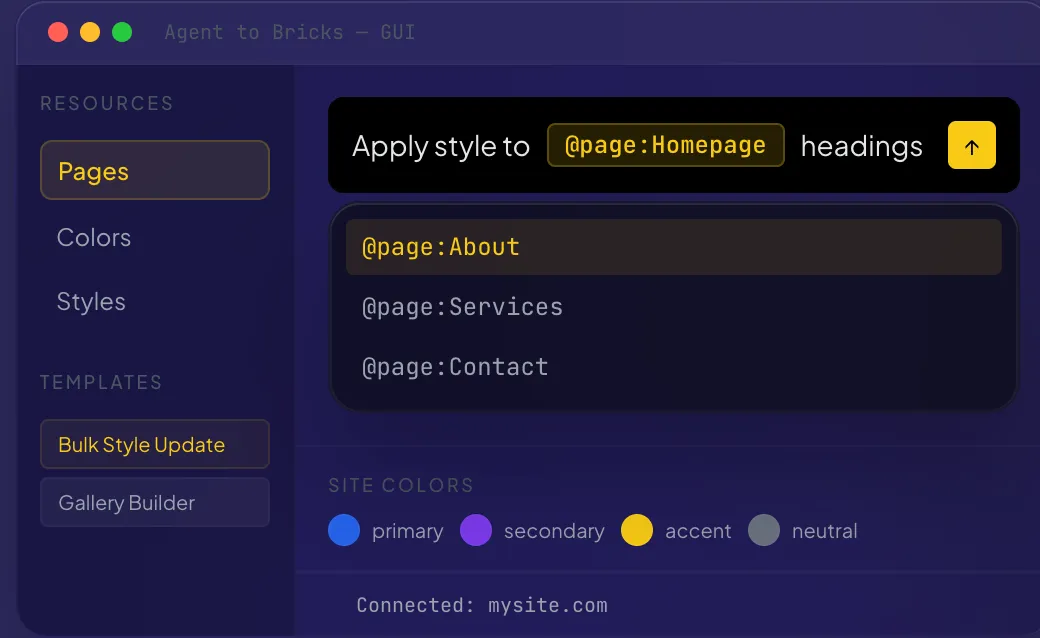
The sidebar sits on the left. The terminal panel fills the center. The context panel takes a fixed 320px on the right. The status bar runs the full width at the bottom, 28px tall.
Sidebar
Section titled “Sidebar”The sidebar is the primary navigation. It contains three stacked sections:
Tools — Listed at the top under a “Tools” heading. Each tool shows its icon (a two-character monospace badge), name, and a status dot. Green means a session is active, muted means installed but idle, red means the tool is not found on your system. Click any installed tool to open the LaunchDialog and start a new session.
Right-click a tool for a context menu with options to start a new session, edit flags, browse or type a working directory path, and open settings.
Sessions — Appears below tools once you have at least one session running. Each session shows a status indicator (pulsing green while running, faded when ended) and a display name. Click a session to switch to it. Hover to reveal an X button for closing it. When you have more than three sessions, a search/filter input appears at the top of the list.
Right-click a session for options to rename it, set its working directory, or delete it.
Bottom actions — Pinned at the bottom of the sidebar: Terminal (opens a plain shell session), Settings, and Help.
When the sidebar collapses (either manually with Cmd+B or automatically at narrow widths), it shrinks to show only icons with tooltips. The “Agent to Bricks” title abbreviates to “AB”.
Terminal panel
Section titled “Terminal panel”The terminal panel is the main content area. It renders a full xterm.js terminal for the active session. Each session gets its own terminal instance and PTY process. When you switch sessions, the previous terminal hides with display: none (rather than unmounting), so scrollback history is preserved.
If no sessions exist, the panel shows a centered message: “Select a tool to start a session.”
The terminal receives all output from the AI coding tool — prompts, responses, code generation, errors, everything. You interact with it the same way you would with a regular terminal.
Context panel
Section titled “Context panel”The 320px right panel provides supplementary information and the prompt workshop. It has two toggle buttons in its header:
- Prompts — Opens the PromptWorkshop, where you compose prompts with @mentions, pick from presets, and view your history. This is the default view.
- Preview — Embeds a web preview of your connected site.
When neither is active, the panel shows contextual content: a welcome screen if no tool is selected, installation instructions if the selected tool is missing, or a tool reference when a session is running.
Status bar
Section titled “Status bar”The thin bar at the bottom shows:
- SiteSwitcher — Displays the active site name with a green dot. Click to open a dropdown of all configured sites. Pick one to switch, or click “Add Site” to open settings.
- Active tool indicator — Shows the tool name with a pulsing accent dot when a session is running.
- Tool version — The detected version string, if available.
- Elapsed time — A live counter showing how long the current session has been running (e.g., “3m 42s” or “1h 12m”).
When no session is active, it simply shows “No active session.”
Responsive behavior
Section titled “Responsive behavior”The app watches the window width with a ResizeObserver and adapts:
| Window width | What happens |
|---|---|
| 1000px and above | Full layout: sidebar + terminal + context panel |
| 700px to 999px | Context panel collapses automatically |
| Below 700px | Both sidebar and context panel collapse |
You can always toggle panels manually with keyboard shortcuts regardless of window size. The automatic collapse just sets the initial state when the window is resized.
Onboarding tooltips
Section titled “Onboarding tooltips”First-time users see a three-step tooltip tour that highlights:
- The tools section — “Your AI Tools” — installed coding tools appear here, click one to start a session.
- The prompt editor — “Prompt Editor” — compose context-rich prompts with @mentions.
- The site switcher — “Connect Your Site” — add your WordPress site URL and API key to enable @mentions and site-aware prompting.
Each step positions a tooltip next to the relevant UI element. You can step through with “Next” or dismiss with “Skip”. Once completed or skipped, the tooltips do not reappear.